Saturday, 23 November 2013

Expanding Time

Expanding time is when you add shots into a sequence that you might not necessarily need but they help to add to the narrative and engage further with the audience to deepen the piece and tell the audience everything to do with the back story of the film.In real time the process your showing on screen might only last half a minute. But the editor can build up tension by including shots of the person's eyes, taping fingers (to show impatience) etc..., drawing the scene out to a minute or more. We are looking at 'film' time, not real time


imgres.jpg

imgres.jpg


- Adding shots like these provided the audience with more elements with which to understand the film in a greater depth and feeling.


To learn about this we completed the same 'Mad Max' we did with shrinking time. The difference being that this time,  we expanded time by adding in close up shots of aspects like his hands or his eyes to create more tension/ overall emotion to the scene.


finally we applied this process to our prelim tasks by adding in different shots and adding in more time between cuts we spread the clip out and created more tension at certain key points in the film.

Enigma

In Today's lesson we looked at the use of enigma in cinema. to begin with we did a task that looked at the connotations that go along with enigma and came up with this list;
>Mystery,
>Curiosity, and 
>Questioning the unknown,

we were also asked to define it, Mr Lucas showed us the dictionary definition:
1-A puzzling or inexplicable occurrence or situation,
2-A person of puzzling or contradictory character 
3-saying, question, picture, etc., containing a hidden meaning

and then we had to come up with our own;
An enigma is something that is puzzling, ambiguous, or hard to work out. Specifically it's a mystery created byhaving an object, person or phrase, that's hidden fro the audience and will not be revealed until it become integeral to the story line. once this has been done the enigma no longer exists.

we then went on to discuss how you might go about creating enigma and came up ith this list;
>Editing,
>sound
>the uknown
> framing
> Hidden Meaning
> introducing foreign concepts to the audience,
>subverting/changing convention or narriative
> camera shots
> Mise-en-scene

Finally we put this into the context of our final task, and we looked at how eniga had been created in the first 2 minutes of 'The Bourne Identity'. It really gave me a clear idea about what i needed to do if i wanted to create an enigma when it came down to making our final task.

To add context with our film openings task we recently watched, broke down and analysed the openg 2 minutes 20 seconds of the film 'Inglorious Bastards' it used enigma well to introduce the Nazi characters  as it gave them an air of mystery and curiosity as the audience don't know who they are they just hear the sound of their Motorbikes. I explore this whole opening/effect of enigma in a differnet blog post, as shown here: ENTER THE LINK FOR THE BLOG POST FROM 25-11-2013 LESSON HERE

Wednesday, 20 November 2013

Shrinking Time

To me shrinking time is cutting down the footage for a scene into the key elements required to still be able to tell the story. This is done through quick cuts that fasten the pace as well as creates mystery and tension. The most common use of shrinking time is in action/thriller movies when they want to interest the audience without telling them the whole thing.

There are a lot of films that use this technique, but the ones that we studied included mad max and the Bourne Identity.

Before we watched the mad max clip we went over some of the stills any ordered them, then we went        Back and in my group we worked on eliminating some parts so that we shrunk the sequence. This created a faster pace for the sequence whilst still telling the story and giving more mystery to Max !

Overall, shrinking time makes the audience feel a rush and absorbed into the scene. It also establishes not only the mood but also the pace and genre of the piece.

Tuesday, 19 November 2013

The Film Making Process

Before we started any other tasks we we given a challenge to think of as many film process we could and order them into the film making process. overall the film making process can be broken down into three main categories: Pre-Production, Production and Post-Production.

Pre-production 
This is before the filming starts, features of Pre-Production include; 
>Idea/concept of the film had been shown, 
>Writing the script, 
>choosing a location to film
>Budgeting the film so they know how much each person working on the fil would get aw well as how much they could spend on buying props and costumes etc.
>Cast the actors and actresses, 
>Find a camera crew, 
>rehearse with the cast.
  - Rehearsals are an element of Pre-Productions because the script could still be edited further as they go on/ before filming actually begins.


imgres.jpg

Production-
Production is basically when filming is taking place. It's where the director, costume designer, hair and make-up and camera and lighting crew all come together and play a big role in the overall make up of the film. It includes;
>Filming what needs to be filmed on time,
>The correct lighting to incorporate the sunshine or the gloomy rainy day, setting the overall tone of the piece.
>Making sure the clothing is realistic to the script/film, 
>Make-up and hair,
>Song selection, 

imgres.jpg
 
Post-Production
>Editing
>This is where the trailers come out and even before the film comes out;
>we see reviews in the newspapers,
>We market it by going to press conferences,
> We set a premiere date where all the people that helped make the film and were in it get a chance to meet fans and watch the final film before it's released to the public.


imgres.jpg

Technology

Technology is a mixture of both the physical equipment that you use as well as the technology you use for editing, colour grading, clip resolutions etc.

     Camera (Shots)We use different camera set ups and shots to create/capture moving images in a sequence. they set both the mood and pace of the piece that you're creating, so they are vitally important.·         Final Cut ProFinal Cut Pro was something that I had never used before so I needed a lot of help in order to grasp the technology. In short final cut pro was the software used to edit the raw footage that we had filmed.·         ‘Apple Software’I am acustomed to using laptops that have windows software so I was not very familiar with the ways in which to use an apple mac at first.
           YouTube
YouTube is a website that the general public can use to upload videos to. These videos can be accessed all around the world making it a convenient source. we use it with our AS media studies so that we can get outside feedback and it means we can use our work on different websites/ share it around to get the best audience for it
·         Blogger
Blogger is a website used to blog your initial thought and ideas, this is then exposed to the public who have the choice to either view/read your posts, comment on your blog or follow you. we use it to document our progress through the AS course, showing people what we're up to at he moment/ what we have done so far,

Monday, 18 November 2013

Match On Action

Definition:
Match on action is a very simple but essential technique, where the perspective of the camera changes during a scene and the scene continues to flow.


As a class we came up with the definition of match on action below.

Class Definition:
Match on Action is the sequencing of events in chronological order to maintain continuity so the narrative can be followed. This is done by matching the footer of one scene to the header of the next.

After going through definitions in class we did a practical that included two people throwing and catching a ball. In the practical we had around 20 minutes that created a sequence with at least four different types of shots from different angles. We were required to cut them together using the iMovie on the iPads.

After completing this task we sat down and watch them both, whilst doing this we analysed them and talked about what we did well as what could have of been done better to iprove match-on-action i the sequence.

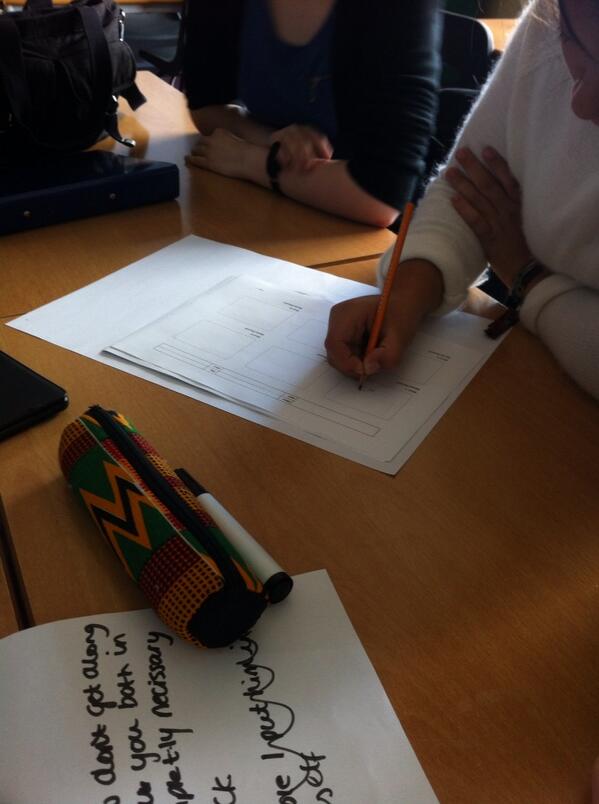
to end the lesson we worte down our ideas on match on action, as shown in the picture below:


Wednesday, 6 November 2013

preliminary task

Our prelim task was the first time that we had to construct and film in a group without guidance from the teacher. This was in order to learn through our mistakes we made and build up our skills so that our final piece would be even better. Initially, we had no ideas on where to start, so as a group we broke it down into parts. 


Pre-production- 


We decided to start creating our piece by following the structure of the film making process that we had created previously. We decided to come up with some ideas from the brief we were given as to what genre,character types we wanted etc. We decided that we were going to make our film based on action (spy) genre. 
We started to storyboard our initial ideas by including shot types and character positions. We then scripted the scenario, this was mainly between the Head agent and one of the agents, as we chose to have one 'prim and proper' agent and another that was more casual and laidback.
Before we started filming we had to choose the actors to play the parts of the characters. We decided to use ourselves in the film as this means that we don't have any worries about whether the other people can attend all of the filming sessions. However, as the head agent we decided to use a teacher at our school as she fitted the role of a mature, intelligent  person that we needed for the role.

production


In the production stage we used the Canon camera to capture the shots that we had storyboarded. This was harder to complete than we expected, this was because what we could picture in our minds was hard to produce through the lens. During this stage we decided to capture extra shots than we needed so that when it came to editing we had all the footage that we needed. To capture this footage we used a few camera accessories. These were the three lenses, the steady cam, the mic and the tripod. By using these accessories we were able to capture a good, steady image.


Construction and Editing-preliminary task


We started to compose our film using  final cut pro to edit the footage we'd collected in the production stage. We had to ensure that we maintained good match on action throughout the piece which proved to be harder than we thought it would be.
 The first piece of this sequence had fantastic match on action which we were really pleased with, however as we were adding in the rest of the footage and we realised that we had parts of the footage we needed missing, this therefore meant that we had to go out and re-shoot
When we were told us that our preliminary task had to include shot, reverse shot, we noticed that our piece didn't contain this and that we weren't sure how to include it in this scenario as the the two characters didn't talk to each other only to the head agent. After talking to our teacher he said that it was our decision what we did next but suggested that we start again as we made our storyline unnecessarily difficult. 

STARTING AGAIN...

 Starting the process again we began with story boarding. The sequence we chose was simple so that we could manage to do it all in time for the deadline, but still included all the essential skills(match on action, shot reverse shot.) 

Scripting and the shot list was easier to complete this time as we had already been through the process so we knew what we were doing. Additionally, this meant that we could get it done much faster than before. 

That afternoon we went out and got all the footage that we needed and also got some extra shots so that we knew we would definitely have enough to make the film work and include the key requirements. We decided to film in the sixth form block as the table set up and room structure was perfect for the look we were trying to create in our film. 
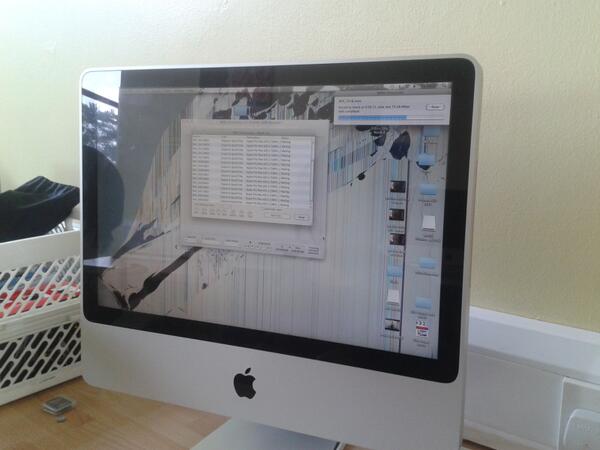
Embedded image permalinkWe then went back to the media suite to encode our clips using MPEG Stream clip so that we could easily, get on with putting the clips together and edit it. 

We were able to slot the clips together using Final cut pro and cut in parts of clips to create the shot, reverse shot. To create the match on action we just had to make sure that when we cut to another clip that everything in the frame was the same as in the last shot. 

After we had finished putting the preliminary task together we created some rolling credits saying which of us did what parts in the film making process. We worked out how to do this using trial and error, which helped us to remember how to do it in our final task. 

Below is our final preliminary task:


I enjoyed completing this preliminary task as it allowed me to work out the film making process on my own and gave me some keys skills for the final piece. It also 
will help me to remember my mistakes and not make the same ones in the final piece. Furthermore, it helped me work on time management and see how much time i would need to input. overall, I am pleased with the outome of the preliminary task as it includes the key skills that we needed, works well all together, and looks good.